
Guidance
How to photograph a grey nurse shark
- Approach dive site in a calm and controlled manner.
- Position yourself in a suitable location to obtain clear images of the sharks, without being in their way.
- Be patient, remain as still as possible in order to allow the sharks to swim past you in their natural pattern.
- Do not chase, obstruct, touch or harm the shark. Grey Nurse Sharks typically swim up and down gullies, along sandy gutters and under overhangs - do not swim in the centre - instead stick to the sides and try to be invisible.
Refer to the Australian Department of the Environment’s Code of Conduct for diving with grey nurse sharks.

The Image should be...
- At right angles to the left or right hand flank (side) of the shark
- Be clear enough to show spots and markings on the shark’s skin
- Not overly exposed, making markings difficult to differentiate
- If using strobes, position to minimise “backscatter” in the image, as this gets confused with the shark’s markings
- Captured in the highest resolution for your camera type
- Sent to the website in J-peg format
- No larger than 2MB or thereabouts
- Have at least 15-20 visible markings on its body on its flank

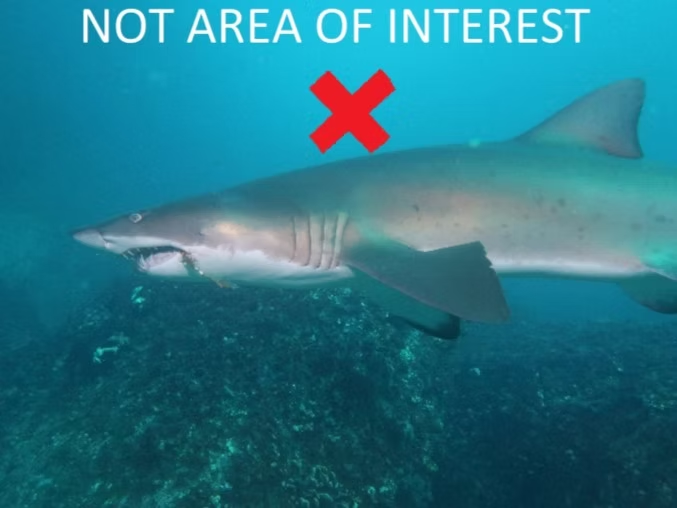
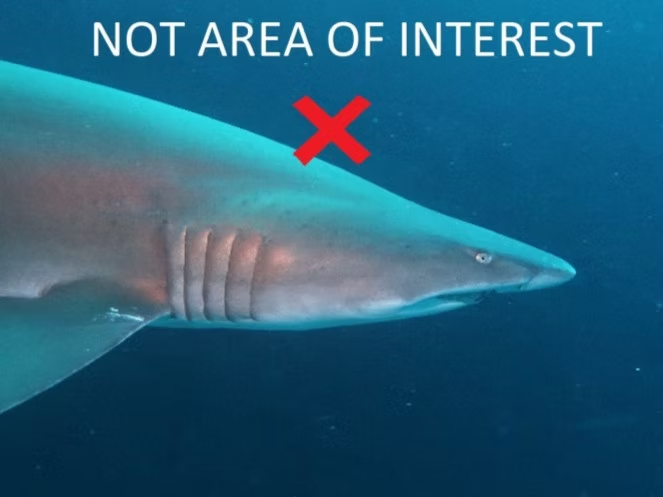
What to avoid
Unidentifiable photos include those taken with
- Wrong angle (e.g. the top of shark, face of shark, tail of shark etc. Must be its flanks)
- Poor clarity (e.g. obscured by fish, shadows, poor visibility)
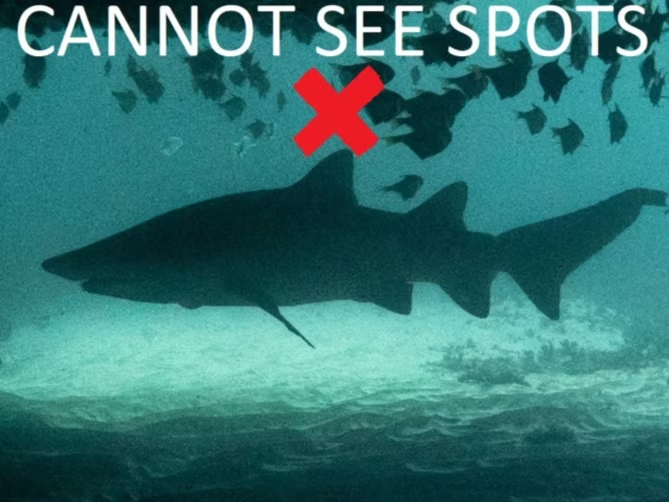
Photo in shadows
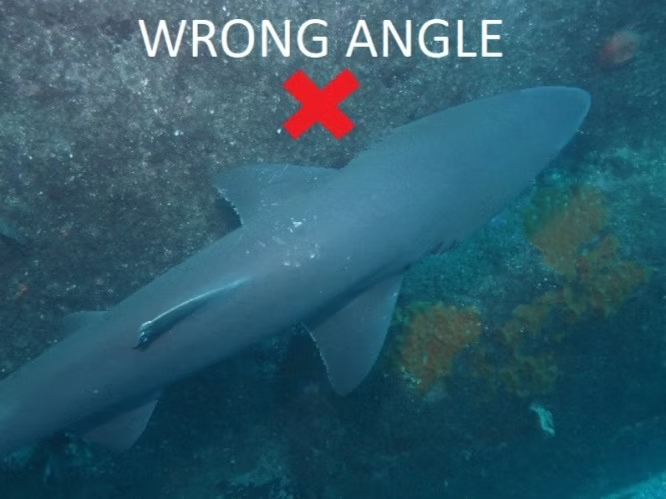
Photo is wrong angle
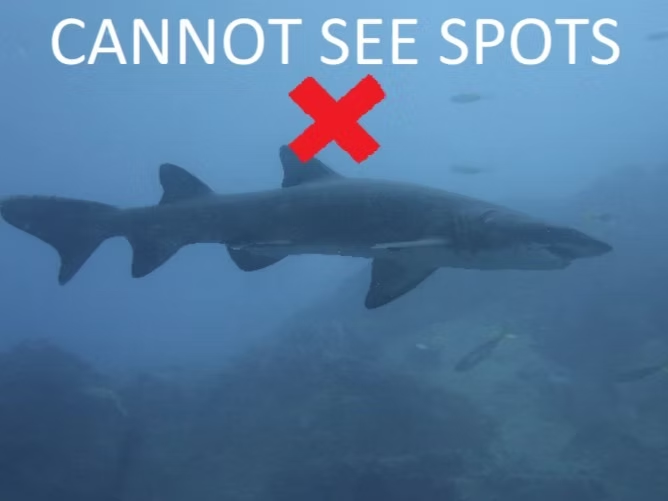
Photo in shadows
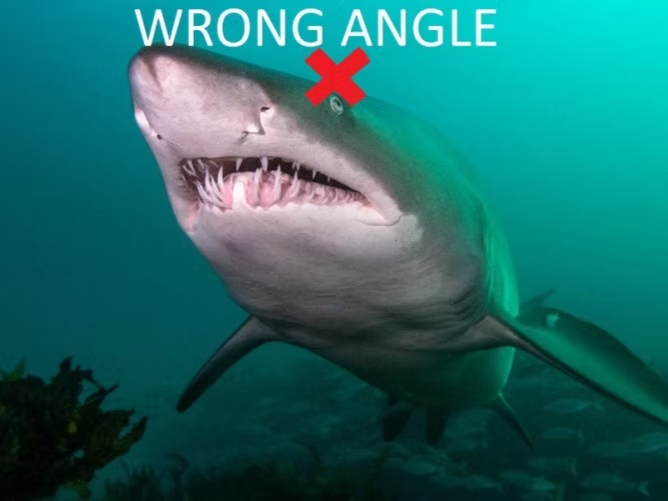
Photo is wrong angle
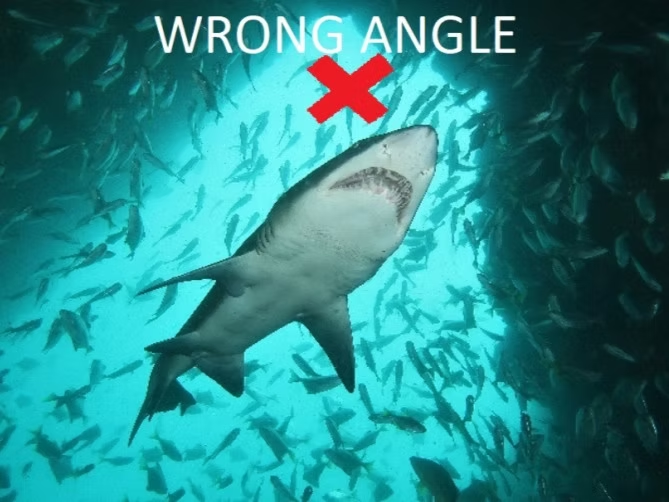
Photo is wrong angle
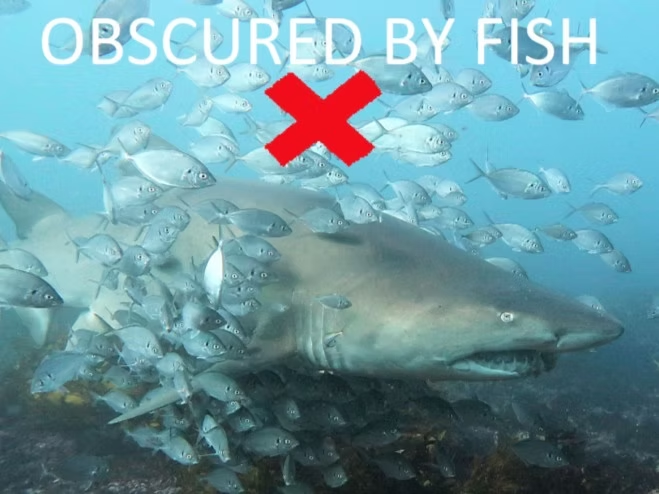
Shark is obscured by fish
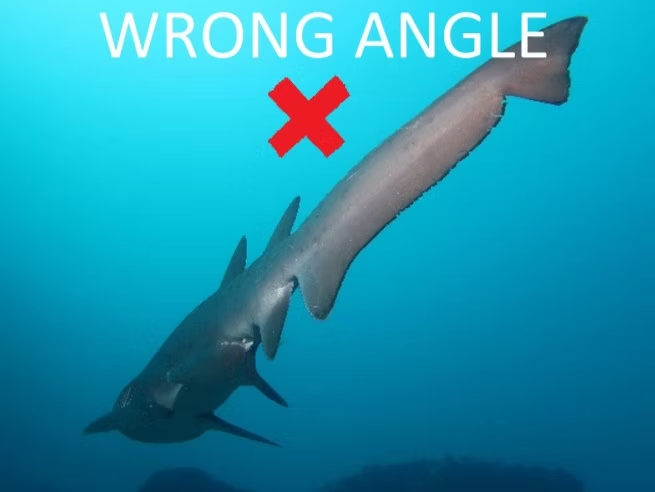
Photo is wrong angle
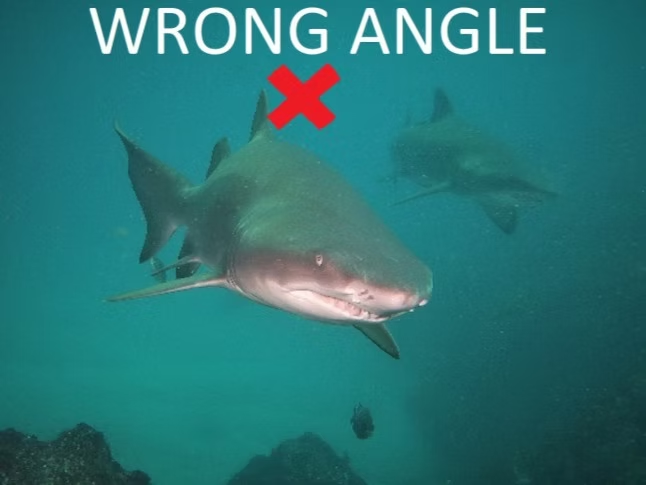
Photo is wrong angle
Cannot see the shark spots on body
Cannot see the shark spots on body
Image Ownership
We only require these images for research purposes and are not sold or used for anything other than promoting shark conservation. The ownership of these images always remains with you. Whenever images are used in publications and/or on the website, recognition will be given to the photographer.